Retail Fixtures: Design, Materials and Assembly
Retail fixtures fail in predictable ways. They look right on the drawing but obstruct an aisle once installed. They hold the product beautifully and cannot be restocked without dismantling. They photograph well on day one and look worn by the end of the first season.
These problems usually begin with design decisions taken in the wrong order, long before anything is cut.
Start from function, not from form
Before the fixture has a shape, settle what it has to do.
What it needs to hold: dimensions, weight, unit count, and how that changes across the year. A fixture designed around a key product and then used for a different range is a reliable source of dissatisfaction.
How it is restocked, by whom and how often. Daily restocking by staff with a trolley imposes constraints that a drawing focused on the customer view will miss entirely.
How long it needs to remain in service. A six-week pop-up and a fixture intended for five years in a flagship store are different objects even at the same price point.
How many will exist. One fixture and forty fixtures are different design problems. Across a production run, packing volume and assembly time start to shape the total cost.
Plan around circulation and sightlines
Fixtures are obstacles before they are displays.
Check the aisle widths that remain after the fixture is in place, not the ones on the empty plan. Check what the fixture hides when seen from the entrance. Check whether a customer stopping to look at it blocks the route for everyone behind them.
Sightlines matter in both directions: what the customer sees on approach, and what staff can see from the counter. A blind corner in a small shop makes supervision harder, and that rarely appears in anyone's budget.
Choose materials by wear zone
A retail fixture is not one material. It has zones, and they are exposed to different types of wear.
Horizontal surfaces at hand height meet products dragged across them, contact with bags and repeated cleaning. Consider HPL-faced board or compact laminate here, with thickness, support and edge details specified for the application.
Vertical faces and plinths take kicks, trolleys and vacuum cleaners. At exposed bases, specify a coating and edge detail suited to impact and cleaning, or use a replaceable protective plinth.
Structure and shelving need strength and screw holding. Birch plywood is one option, and its visible edge is frequently the design; verify panel thickness, shelf spans, fixings and overall stability for the loads intended.
Transparent or illuminated elements need a material chosen for optical performance, impact resistance and cleaning, tested with the intended lighting. The lighting and the cutting are one design.
Concealed carcass panels are often melamine-faced board; specify the substrate, thickness, fixings and edge protection.
One specification risk is a single material throughout. Another is upgrading everything evenly when budget allows, rather than spending where contact happens.
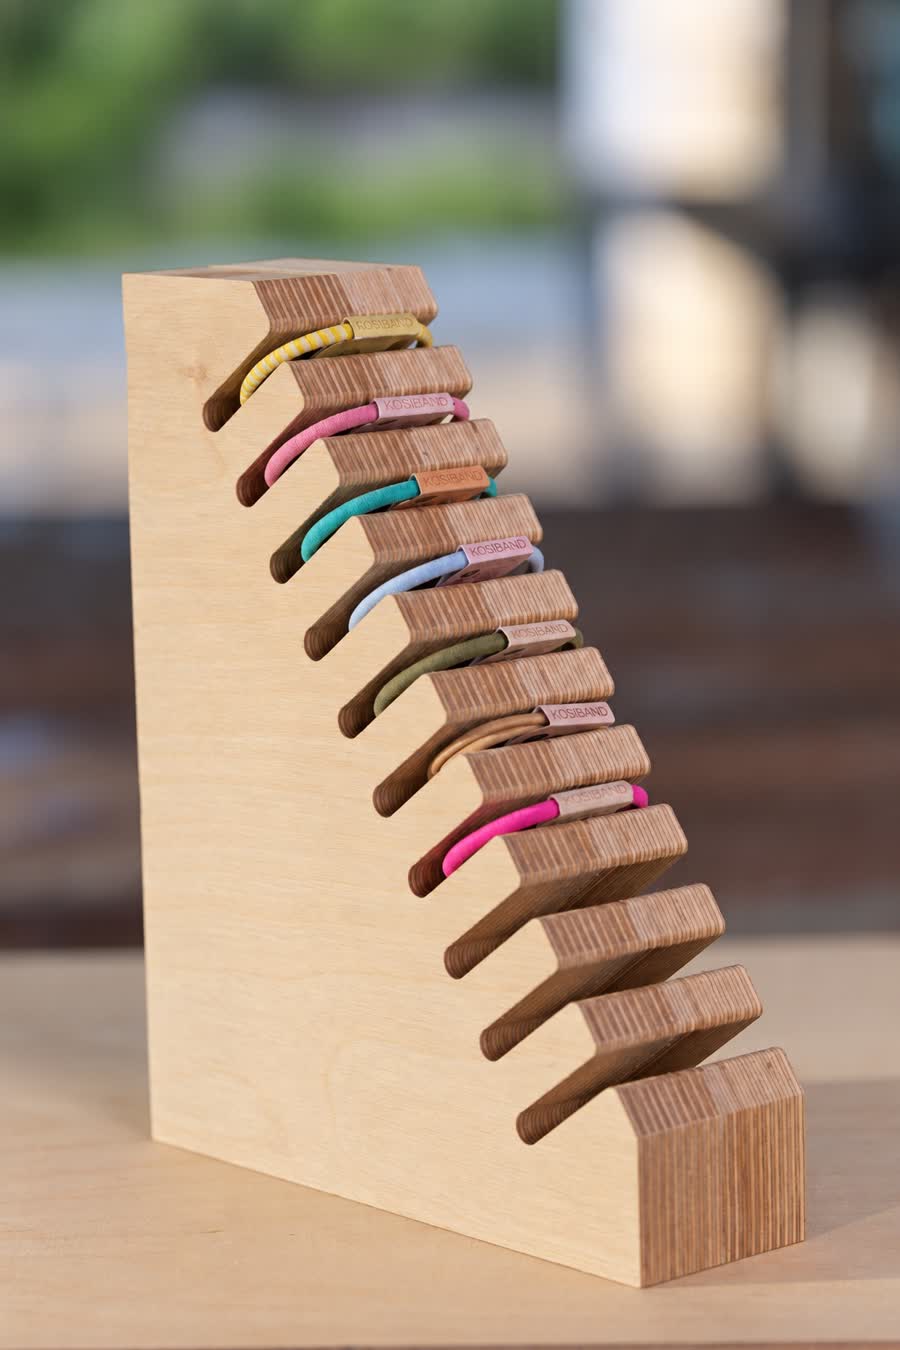
Build around real dimensions
Retail design drifts towards dimensions that suit the drawing rather than the body.
Check the reach ranges for the intended users, seated users included, and how far someone has to bend to access the lowest shelf. Set counter heights around the tasks performed there: paying, wrapping and consulting are not the same height.
Then check the delivery access dimensions. Will it pass through the shop door, the service corridor, the lift? A fixture that cannot pass along the delivery route means modification on site, or a rebuild.
Design for production and assembly early
This is where cost is decided, and it is decided before the design is finished.
Sheet efficiency. Parts that nest badly waste material at a rate visible in the quote. A small dimensional change can improve the nest and take sheets out of the run.
Flat-pack where the numbers justify it. Compare assembled and flat-pack options against packing volume, freight cost, site labour and the joints each option needs.
Joints that assemble reliably on site, by someone who did not build the fixture, and that come apart again where relocation or panel replacement is expected. Numbered parts, joints that only go together one way, and hardware that needs one tool rather than four.
Repeating modules. Three module types that combine, rather than twelve unique fixtures, cuts repeated work in file preparation, production and packing.
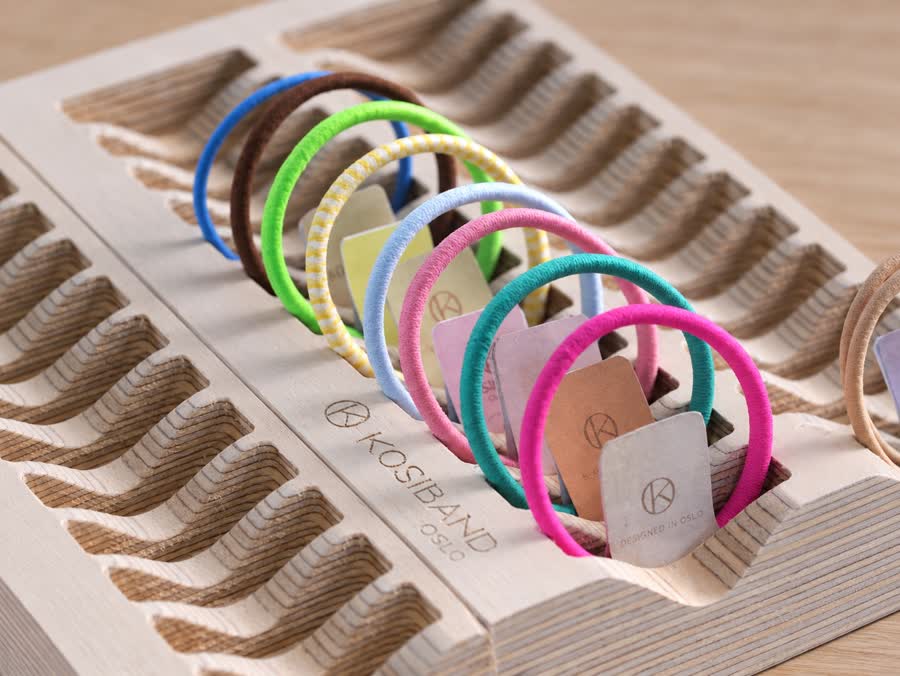
Finishes should match brand and wear level
Two requirements meet here and sometimes conflict.
The brand requirement is colour, sheen and texture. The wear requirement is what survives the environment. Be specific: a colour reference, a sheen level, and an edge treatment per part. "Brand white, matt" leaves three decisions to be made by someone who has not seen the store.
Plan logistics, maintenance and lifecycle
Packing for retail work is not incidental. Fixtures ship to occupied buildings, get moved by third parties and sit in stockrooms before installation. Corners and finished faces need real protection.
Installation conditions. Who assembles, with what tools, in what time window, and whether the shop is trading during the work.
Maintenance. What happens when a surface is damaged in month four. A design where a single damaged panel can be replaced is worth more than one where the whole fixture must go.
Repeat orders. If the concept rolls out to further locations, the files, materials and finishes need to be reproducible six months later. That is a reason to keep specifications documented rather than agreed by phone.
A workflow that avoids rework
Checking these dependencies in order, rather than discovering them later, is what keeps rework out of a retail rollout.
Next step: send the plan and the product dimensions. CNC milling and cutting · work we have done · file preparation guide
22.09.2026