How to Choose Furniture Materials for Custom Projects
Choosing a material before the piece's use is defined is how avoidable problems get built in. A board gets picked because it looked right in a sample box, and the consequences appear later: an edge that chips on a service counter, a painted door that telegraphs its substrate, a reception desk that looks tired soon after handover.
This is a decision framework rather than a materials catalogue. For what each board actually is, see sheet materials for interiors. What follows is how to arrive at the choice.
Start with the piece's actual job
Before any material is named, answer four questions about the object.
Who touches it, and how often? A reception desk front meets hands, bags, shoes and cleaning trolleys. A meeting-room credenza sees far less contact. These are different specifications even in the same building.
What lands on it? Coffee, disinfectant, keys dragged across a surface, a laptop set down and picked up throughout the day. Liquids and abrasion are separate problems with separate answers.
How long does it have to last? A brief might call for a six-week pop-up, or a hotel lobby that stays presentable for years and is repairable after that. A longer-life specification usually costs more up front; compare the expected annual cost, maintenance included.
Who repairs it, and with what? If a scratch has to be fixed on site by a maintenance person with no workshop, that rules out several otherwise sensible finishes.
These four answers narrow the options before a single board is named.
Choose by performance, then by appearance
Two surfaces can look almost identical across a room and behave nothing alike in service. Define the performance requirement first, then develop the substrate and the finish together, and let colour follow. Reversing that order is how projects end up with a beautiful specification that fails its first year.
Use the table below as a starting point:
The table mixes substrates and facings, which is how real specifications work: name the whole build-up, core, facing, adhesive and edge. Most projects combine two or three materials, and the combination is usually the right answer.
The counter and the desk: two worked examples
Shop counters and reception desks illustrate how far apart two briefs can sit.
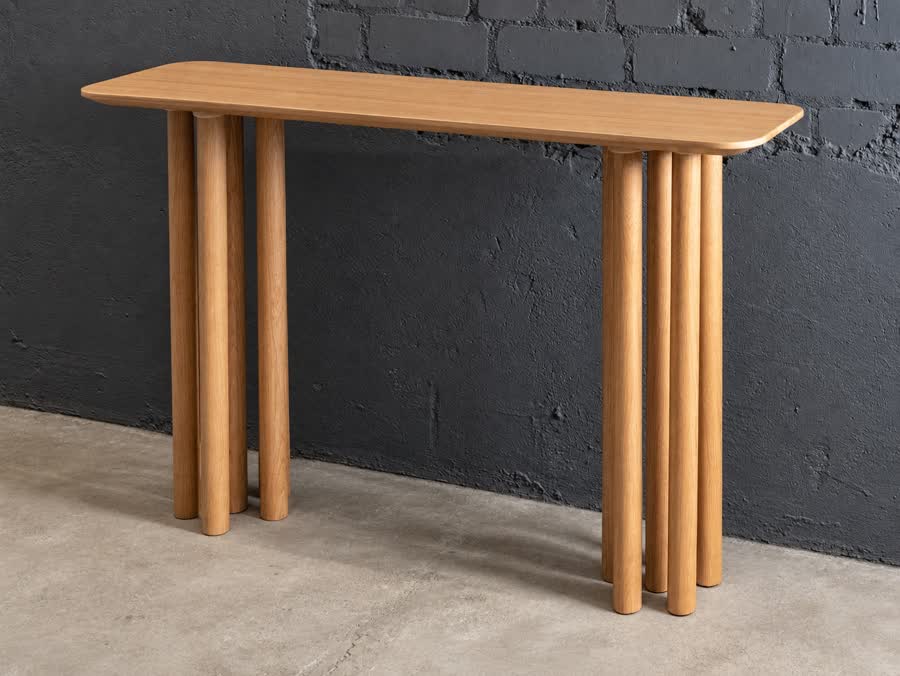
A shop counter takes heavy wear. The front is kicked, the top is scraped, and the whole thing is cleaned with whatever the cleaning contract provides, so confirm those products and procedures before specifying the surface. HPL suits the horizontal surfaces when the grade, substrate, edges and joints are specified for the expected wear and moisture. Birch plywood gives a warmer commercial look and holds up well if the edges are properly detailed. Painted MDF suits shaped and brand-specific forms but needs a realistic view of how it will age at the kick line. Melamine-faced board can suit a budget-controlled interior if it stays out of the wear zones.
The mistake is specifying one material for the whole object without asking. A counter is a system: a top that resists liquids and abrasion, a front that resists impact, an interior specified for its storage loads and hardware, and an edge condition that decides how all of it ages.
A reception desk combines a prominent visible front with contact zones that need their own specification. The visible face carries the brand, so painted MDF and veneered panels both make sense; board grade, surface preparation and paint system all decide how it looks and how long it lasts. The transaction surface and the kick zone still take contact, and they deserve the same thinking as a shop counter.
Match the finish to the substrate
A finish is not applied to a design; it is applied to a specific board, and the board decides what is achievable.
MDF gives a smooth base for paint, though machined edges absorb more than the faces and need sanding and sealing before they behave the same way. Plywood shows its layers at the edge, which is either the feature or the problem depending on the design. Solid wood moves with humidity: allow for that movement in the construction and choose a compatible finish, because a coating slows moisture exchange rather than stopping it. On veneered panels the species decides appearance and finishing behaviour, while stability depends on the substrate, the adhesive and balanced construction.
Deciding the finish after the board is ordered is one of the more expensive ways to run a project.
Design for fabrication and assembly
Material choice is also a production decision, and it changes the price before anything is cut.
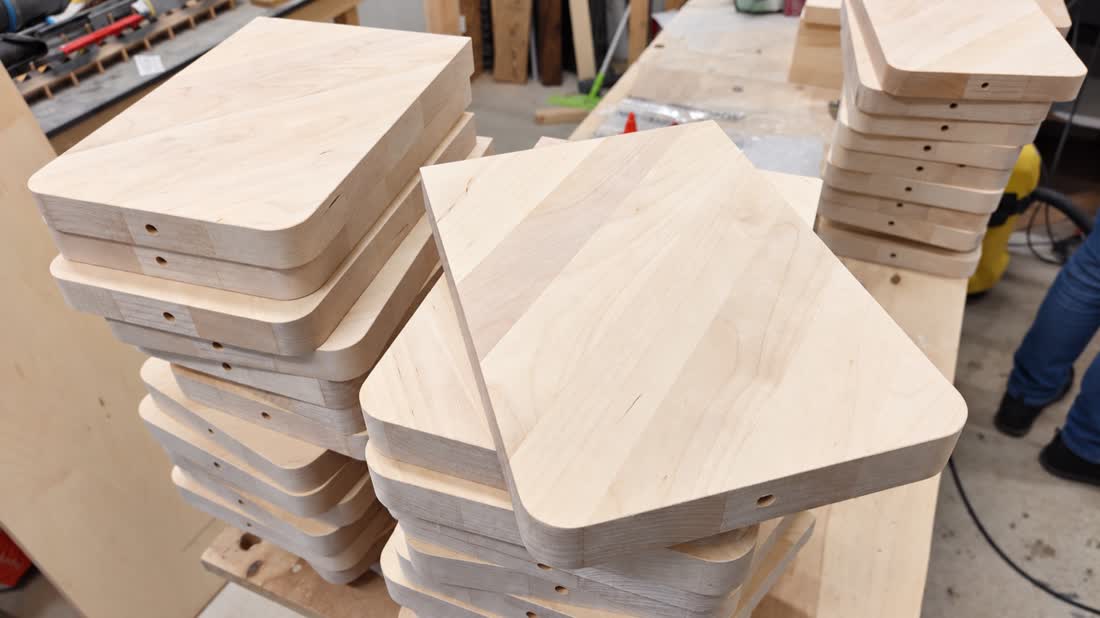
Sheet materials come in fixed sizes, so part dimensions that nest badly waste material at a rate that shows in the quote. Grain direction on veneered and solid parts constrains how they can be laid out. Thickness affects joint design, screw holding and whether an edge can be profiled at all. Our working field is 2070 × 4000 mm, which is generous, but a small increase in part size can drop the number of parts cut from a sheet and raise the material cost.
None of this argues for designing around the machine. It argues for having the conversation while the drawing is still easy to change.
Balance first cost against service life
The cheapest board is rarely the cheapest object over its life, and the most expensive board is not automatically the most durable one. Compare the purchase cost with the expected maintenance and replacement cost in that specific position.
Melamine-faced board is well suited to protected internal casework behind a door. On a counter front in a busy café, compare it against an HPL build-up for impact resistance, edge durability and repair options before deciding. Conversely, specifying compact laminate for an office storage unit that nobody touches is money spent on a problem that does not exist.
Where budget is tight, the productive move is not to downgrade everything evenly. It is to spend where contact happens and save where it does not.
Write a material brief before asking for a price
A workshop can quote faster and more accurately from a short clear brief than from a long vague one. Before requesting a quote, settle:
If some of these are still open, say which. A brief with three honest unknowns is easier to work with than one that hides them.
Ask for samples before the full run
Where colour, sheen or texture is central to the design, a sample is not a delay. It is the cheapest point in the project at which to correct course.
A sample on the actual substrate, in the actual finish, seen in the actual light of the space, resolves arguments that no digital reference can. This matters most on painted surfaces, stained wood, and anywhere two materials meet and need to work visually together.
Agree sample requirements with the workshop before the batch is approved.
Next step: send the brief, or the questions you have not resolved yet. CNC milling and cutting · work we have done
22.09.2026