Furniture and Interior Prototyping: Concept to Production
A prototype is not a preview of the finished piece. It should answer specific questions about it, before the answers become expensive.
Skipping that step can cost time later, when the first production batch reveals a joint that cannot be assembled on site, a finish that looks wrong under the actual lighting, or a part 4 mm too wide for the opening it has to fit.
Decide what the prototype must prove
Start by defining what the prototype needs to prove.
Write down the questions before anything is cut. In practice they fall into four groups:
Does it fit and work at full size? Scale, reach, knee clearance, door swing, how people actually interact with the object. Renders alone cannot verify physical reach, comfort or ease of use.
Is the construction structurally sound? Joinery, load paths, fixings, whether the assembly remains square when it is carried through a doorway.
Does it look right in its intended setting? Colour, sheen and texture under the lighting of the actual space, next to the actual neighbouring materials.
Can it be made repeatedly? Whether the part can be produced to a consistent quality across the run, not once with careful attention.
Separate prototypes are worth considering when the questions call for different materials or levels of detail.
Choose the right kind of prototype
Not every question needs a full piece.
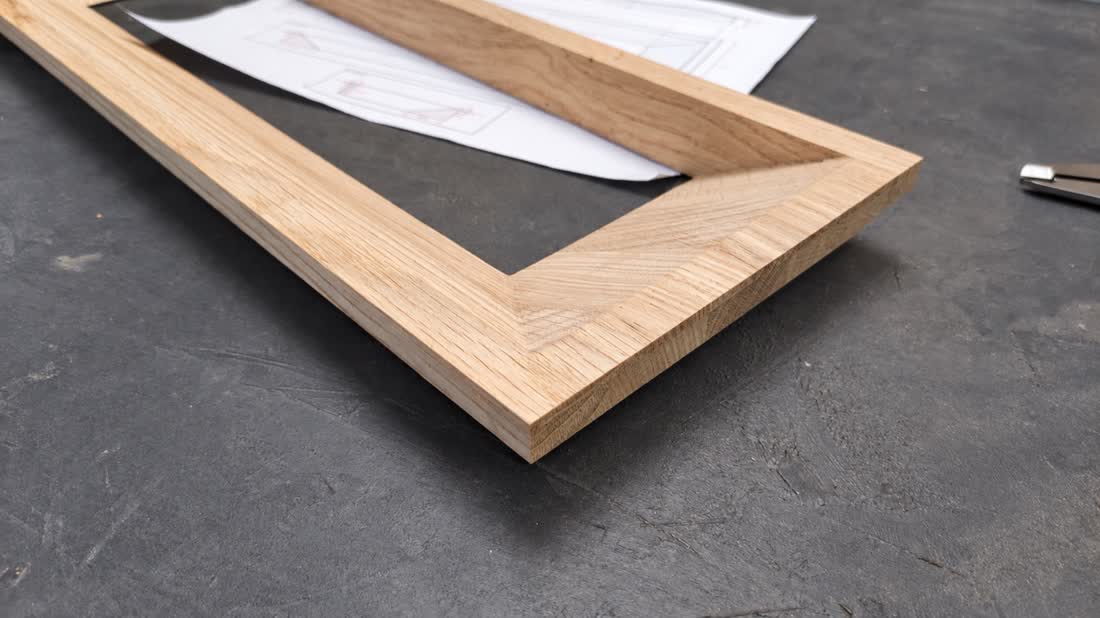
A detail prototype is a single joint, edge condition or hardware interface, made at full size. It can settle a specific construction question before a full piece is made.
A finish sample is a panel of the actual substrate in the actual finish. It lets colour, sheen and texture be assessed without making the complete piece.
A partial prototype is one bay of a run, one door of a set, one module of a system. It proves the repeating unit before committing to all of them.
A full prototype is warranted when the questions concern scale, ergonomics or user interaction, or when a client needs to physically approve the object before a large run.
Start with a detail prototype where the main uncertainty is a joint or an interface, and escalate only when the questions require it.
Build it from production files, not sketch files
This is the difference between a prototype that teaches you something and a prototype that misleads you.
A handmade mock-up can validate form and ergonomics. It cannot validate CNC fit or repeatability: for that, use the intended production files, materials and machining process. If the prototype is hand-made from a sketch and the run is CNC-cut from a CAD model, tolerances differ and joints behave differently.
Build the prototype from the file that will produce the run. That way the prototype tests the file as well as the design, and any correction goes back into the same file rather than into somebody's memory.
A prototype made by the intended production process can also support first-article inspection, provided it is checked against the agreed specification and the results are recorded. Repeatability still needs confirming beyond the first part.
Treat tolerances as part of the design
A prototype is the right moment to find out whether the fits are real.
Nominal dimensions on a drawing are intentions. The actual behaviour depends on material, machining, finish build-up and humidity. A fit checked under dry conditions can change as humidity changes, so assess the movement of both mating parts under the expected service conditions. A slot sized to the nominal unfinished shelf thickness may become too tight once the faces are lacquered, so allow for coating thickness on every mating surface.
Our base machining tolerance is ±0.5 mm, comparable with ISO 2768-1 class m for nominal dimensions over 120 mm and up to 400 mm. Tighter tolerances are available on request and are agreed for the specific part. For mating parts, look at the combined tolerances of both features, including material thickness variation and finish build-up. The number only becomes meaningful when it meets a real joint, which is exactly what a prototype is for.
Decide during prototyping where clearance is needed, where interference is intentional, and which dimensions are critical as opposed to merely specified.
Choose materials for what is being tested
For structural testing, match the production material specification: thickness, grade, grain or ply orientation, joints and fixings. Plywood and MDF behave differently under load and there is no point testing one to approve the other.
If the question is purely about scale and circulation, a lower-cost board may be perfectly suitable.
If the question is about finish, the substrate must be identical, because the substrate and the surface preparation both affect the result.
The failure mode is prototyping in a convenient material, approving it, then discovering in production that the real material machines, moves or finishes differently.
Test it properly
Visual inspection alone does not verify fit, function or strength.
Assemble it the way it will be assembled on site, ideally by someone who was not involved in designing it. Define the loads, the operating cycles and the acceptance criteria for the intended use, and work through them. These workshop checks do not replace any applicable strength, stability or durability testing. Check the delivery and installation route as well, including door openings, turns and lifts. Put the piece where it will live and look at it at the time of day it will be seen.
Then write down what you learned, including the things that worked. Without a record, the next project repeats the work.
Prototype the finish separately
Approve the finish as a separate step.
Prepare the sample using the production substrate, surface preparation, coating system, application method and curing conditions, on a piece large enough to judge. Small chips mislead about both colour and sheen. Look at it in the real light next to the real neighbouring materials.
Approving the finish on the prototype object works too, but only if that object was finished by the process that will be used in production. Changing the application method between prototype and production can shift colour, sheen and texture.
Release into production deliberately
The step between an approved prototype and a production run is where agreed changes get missed.
Update and version the approved CAD/CAM files, drawings, material and finish specifications and inspection criteria, rather than keeping a list of adjustments in somebody's head. Confirm which dimensions are critical. Keep the approved prototype and the approved finish sample as physical references. Agree what happens if something in the batch deviates, before the batch exists.
If the run is large, a short pre-production batch of a few units is a useful last checkpoint for handling, assembly time and packaging. Nesting yield is better assessed against the planned batch quantities and sheet sizes.
What to prepare before asking for a prototype quote
That last point is worth stating explicitly: the expected quantity can change the tooling, the production approach and the price of the prototype itself.
Next step: tell us what the prototype has to prove. CNC milling and cutting · work we have done · file preparation guide
22.09.2026