Wood Finishes for Furniture and Interiors
Finishing is where a project is judged. The geometry can be perfect and the material correct, and the piece will still look poorly finished if the sheen is wrong, the edges are unresolved, or the colour shifts between components made a week apart.
It is also the part of a brief that tends to arrive in the fewest words. "White, matt" is not a specification. This guide covers what the options actually are, how they pair with substrates, and what has to be decided before anything is sprayed.
Start with service conditions
The same visual result can be achieved several ways. The choice depends on service conditions, appearance and maintenance requirements.
Ask what contacts the surface and how often, whether liquids are involved, what it will be cleaned with, whether UV reaches it, and whether damage has to be repairable in place. A hotel restaurant tabletop and a showroom display plinth can look identical and need completely different systems.
There is also a commercial question: how long must it retain its original appearance, and what maintenance or refinishing will then be needed? A finish that can be locally repaired has a different lifetime cost from one that has to be stripped and redone.
The finish systems and where each belongs
Clear lacquer
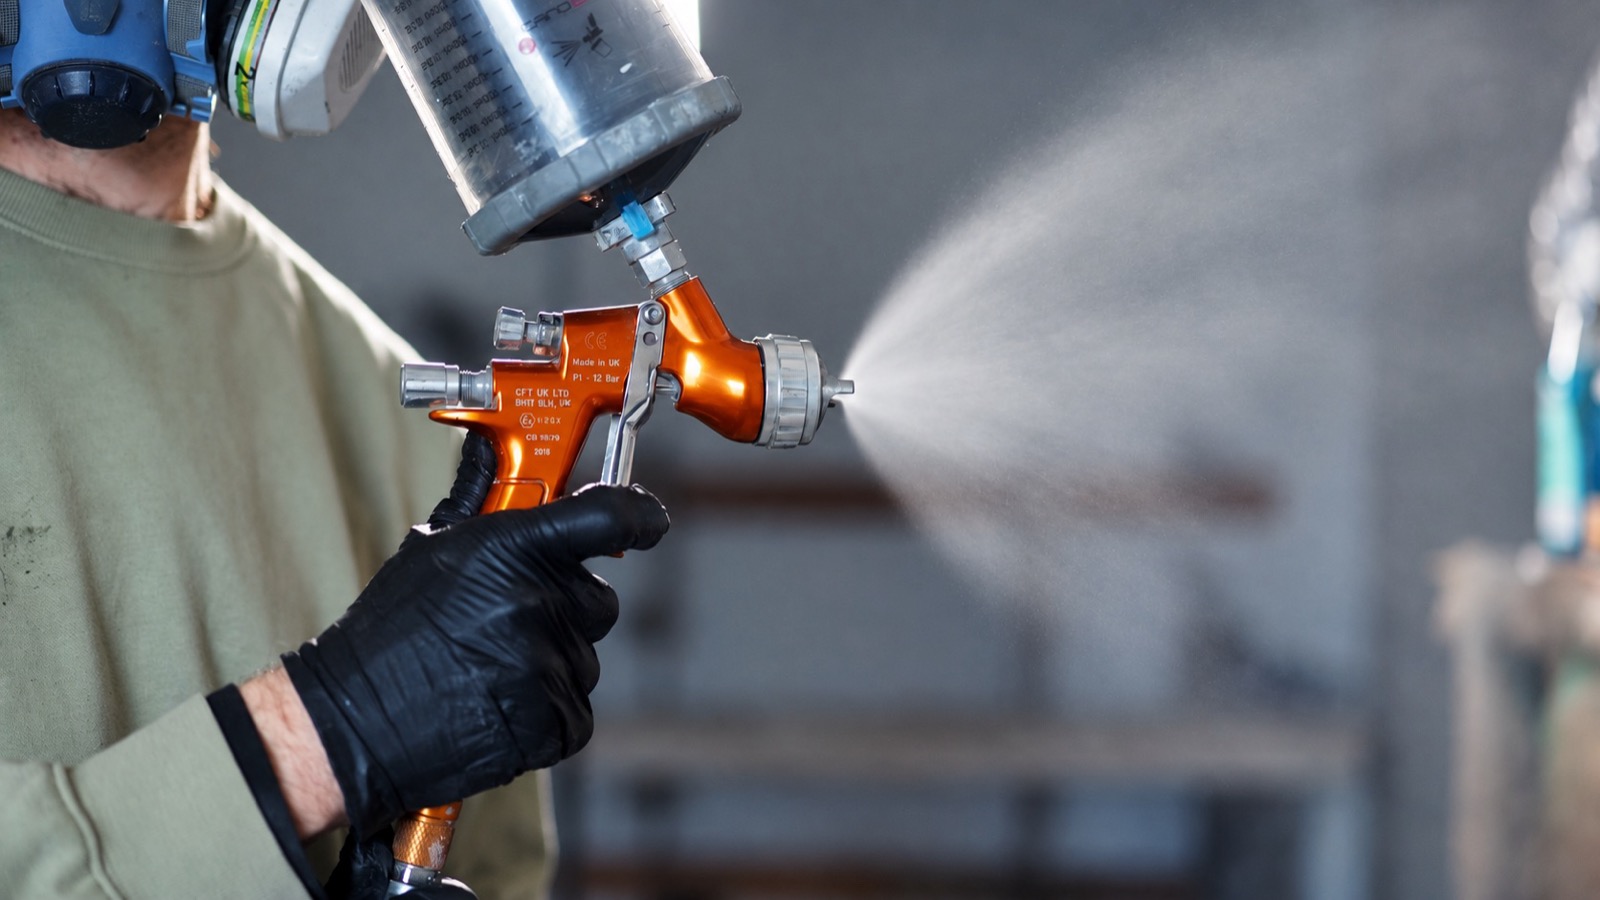
The workhorse for commercial interiors. Typically spray-applied, it forms a film, comes in a range of sheen levels depending on the product, and gives consistent results across a batch, which matters as soon as you have more than a few parts.
Catalysed and two-component lacquers add chemical and abrasion resistance compared with single-component systems, and are the sensible choice where cleaning is frequent. Where a pale appearance has to hold, select a clear coating with documented resistance to yellowing and test it on the actual board; the wood itself may still change colour under light.
Repair is the limitation to plan for. Some lacquers allow local repairs; others need the whole panel refinished for a uniform appearance.
Typical applications: plywood and veneered furniture, commercial casework, anything where consistency across many parts is the priority.
Hardwax oil
A combination of penetrating oils and waxes that protect the surface. It leaves a natural, tactile finish where the wood still feels like wood, and it ages by wearing rather than by chipping.
Its real advantage is repairability: a worn area can be cleaned and re-oiled locally, though the repair still has to dry and cure as the manufacturer specifies. That makes it attractive for solid wood pieces expected to last a long time where regular maintenance can be provided.
Resistance to standing liquids and cleaning agents varies by product, so check the specified system against the intended exposure. It also requires a defined maintenance schedule.
Typical applications: solid wood tables and counters, tactile surfaces, projects where character and long-term repairability outrank maximum resistance.
Two-component polyurethane paint
The system for painted furniture that has to perform. Two-component polyurethane can give a hard, durable finish on properly prepared MDF; confirm chemical resistance and colour stability for the system actually selected.
It is a controlled process: substrate preparation, a compatible primer and topcoat, with sanding and recoating intervals as the manufacturer specifies. That sequence is the reason for the result.
Typical applications: painted doors and fronts, reception desks, shaped and routed MDF, anywhere a specific brand colour is required.
Stain plus protective topcoat
Where the timber tone needs to be controlled rather than accepted. Stain adjusts colour, the topcoat provides protection.
The difficulty is consistency. Stain uptake varies with species, cut, sanding grit and the individual board, so batch-to-batch matching is a process-control problem rather than a colour-choice problem. It demands sampling on the actual material.
Typical applications: matching existing joinery, adjusting a species to a required tone, warming or cooling a natural surface.
Factory-finished surfaces: HPL and melamine
Sometimes the correct finish is a board that arrives already finished.
A factory-laminated board removes the coating stage from the workshop. Select the HPL grade and surface texture for the wear and chemical resistance required, and allow for any adhesive curing during fabrication. Melamine-faced board can be the cost-effective option where its specified performance meets the application.
The trade-off is that the surface is fixed. Colour and sheen come from the manufacturer's range rather than being adjusted in the workshop, and the edge becomes the entire quality question.
Typical applications: high-use horizontal surfaces, hospitality tables, service counters, efficient casegoods.
Match the finish to the substrate
Every system above behaves differently depending on what is underneath it.
MDF is well suited to painted components: a smooth, grain-free surface and crisp routed profiles. Machined edges are the part that needs work, because they absorb primer unevenly and finish rough unless sealed and sanded, with defects filled where necessary.
Plywood shows grain and the laminated edge. Under a clear finish, specify the face grade, the acceptable repairs and the appearance you expect, and decide whether the edge is a feature or a condition to resolve.
Solid wood moves with changes in humidity. The panel construction has to accommodate that movement, and the coating has to suit both the substrate and the service conditions; a coating does not remove the need for the construction to allow for it.
Veneer takes colour and stain according to the species on its face, while panel stability depends on the core and the construction. It is unforgiving of over-sanding, because there is very little material to remove, so preparation has to be gentler and more controlled than on solid timber.
Mixed construction needs particular care: a veneered face, solid lippings, a painted return. Each element takes the finish slightly differently, and the pairing has to be tested rather than assumed.
Preparation decides the result
Preparation is critical to finish performance.
Sanding sequence, dust removal, grain raising on water-based systems, correct sealing of end grain and MDF edges, controlled temperature and humidity during cure: none of it is visible in the finished piece, and all of it is the reason the finished piece looks the way it does.
This is also why finishing has to sit in the schedule on its own terms. Allow the manufacturer's specified drying, recoating and curing times when planning production and delivery; handling or using a piece before it has cured can damage the finish.
Edges are where quality is read
A perfect face with a poor edge reads as poor work. This is true across every system above.
On painted MDF, the edge has to be sealed, and filled where needed, or it will always look different from the face. On plywood, specify whether the laminations are exposed or covered, and name the edging material. On veneer, the edge detail is where the construction either reads as intentional or as a shortcut. On laminate, banding quality and the joint line are the whole impression.
Specify the edge condition in the same sentence as the face finish.
Sheen changes more than people expect
Sheen level alters perceived colour, perceived texture and how much every imperfection shows.
Matt makes minor surface irregularities less conspicuous, while gloss emphasises them and demands a substrate prepared to a much higher standard. How visible fingerprints and cleaning marks are depends on colour, texture and the coating itself. Satin and eggshell offer intermediate sheen levels.
A colour approved on a gloss chip and produced in matt may appear different. Approve sheen and colour together, on the same sample.
Colour matching across a project
Where parts are made at different times or on different substrates, colour consistency is a production control issue.
It is managed by specifying the exact colour reference, producing parts from the same batch where possible, and keeping an approved reference sample. Colour can still vary with substrate, coating build, sheen and lighting, so compare samples made with the complete finish system under the intended lighting.
For close matching to something existing, use a physical reference or arrange an on-site comparison. A photograph is not a colour reference.
Common specification mistakes
Sample before the run
On anything where the surface carries the design, a sample on the real substrate in the real finish is a cost-effective way to settle the finish before production. It resolves sheen, colour and texture questions in one step, and it leaves an approved physical reference for production and inspection.
Approve a sample before batch finishing.
Next step: describe the piece and how it will be used, and we will propose a finish system. CNC milling and cutting · work we have done
22.09.2026