Acrylic CNC Cutting and Engraving: Clean, Precise Parts
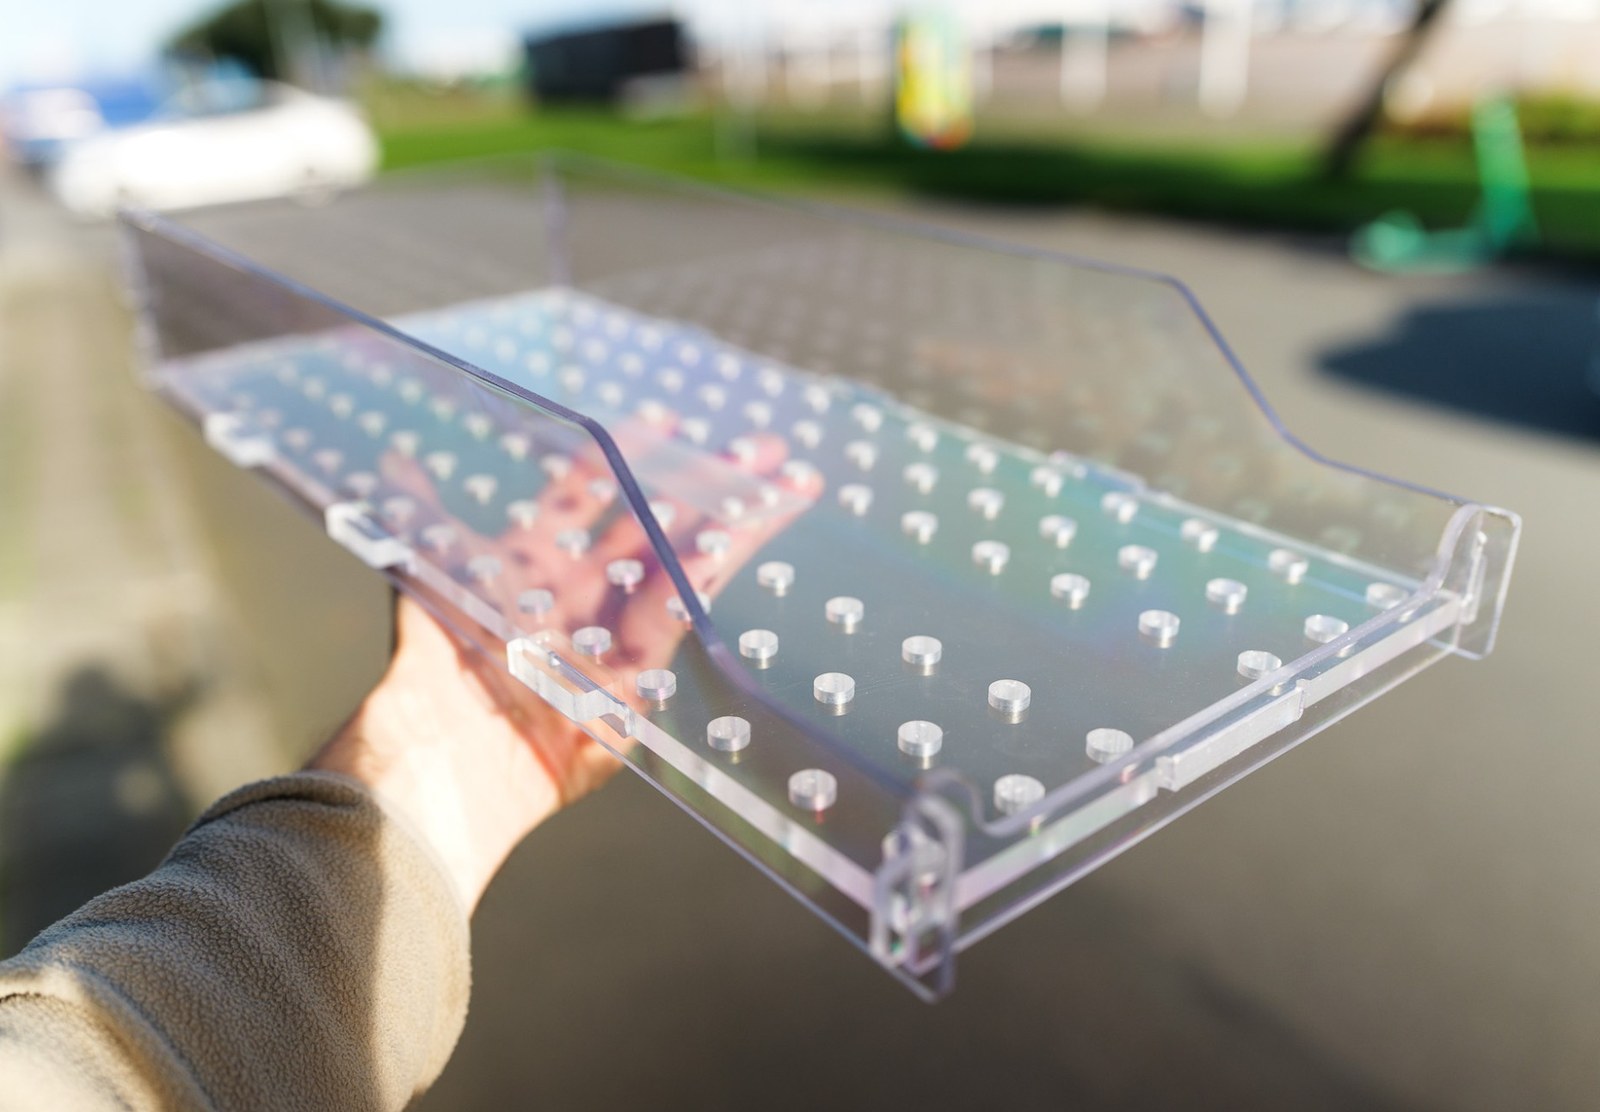
Acrylic is unforgiving in a specific way. Tool marks and heat damage are particularly visible on clear acrylic, where wood would hide a mediocre cut under sanding and finish. Edge quality is a large part of the finished appearance.
Machined correctly, it gives transparent, dimensionally precise parts with clean edges.
Where acrylic makes sense
Signage and lettering, where crisp edges and colour stability matter and the piece will be seen close up.
Light diffusion, where a suitable diffuser grade, matched to the light-source spacing and the panel geometry, gives even illumination.
Display and retail details, where transparent supports keep attention on the displayed product.
Covers and viewing panels, where visibility into a machine or process is required. Safety guards need a separate assessment of impact resistance and fixing design.
Engraved and backlit panels, where a cut-through or engraved graphic is illuminated from behind or from the edge.
Load-bearing furniture components in acrylic need a design check for deflection, long-term creep and fixing stresses. Standard uncoated acrylic also scratches readily, so check the grade's abrasion resistance and use only cleaning products the manufacturer approves.
Cast or extruded: choose before designing
Choose the acrylic type before the design is finalised.
Cast acrylic is generally preferred for machining and engraving. It gives cleaner edges, takes polishing well, and responds predictably to the cutter.
Extruded acrylic is often less expensive, depending on grade, thickness and quantity, and has more consistent thickness, which matters when parts must fit a channel or slot precisely. It is more prone to melting and to gumming the tool, and its engraved edges are less crisp.
Either can be right; confirm the finish you need with a sample rather than by category.
Thickness tolerance is worth checking either way. Nominal 5 mm sheet can vary in thickness, so size mating slots from the actual sheet thickness, the clearance you need and the machining tolerance. Our standard machining tolerance is ±0.5 mm; tighter tolerances are available on request and agreed per part.
One pass, full depth
At Cutlab we cut acrylic with a single-flute cutter in one pass at full material depth. The single flute clears chips efficiently enough to carry the heat away with them. In our process, a repeat pass over the same path re-melts the edge rather than improving it, and polishing cannot restore geometry that has been lost: a heat-damaged edge means removing material or remaking the part.
Feed rate, spindle speed and chip evacuation all have to be matched to the cutter, the material thickness and the geometry. Small features may need smaller tools and longer machining times.
Design rules that help the tool
Minimum internal radius is set by the cutter. Sharp internal corners are not available, and attempting them by slowing the tool at the corner puts heat exactly where it does most damage. A generous radius also reduces stress concentration in a loaded part, so the same detail answers both questions.
Minimum feature size and web width. Thin webs between cut-outs flex and vibrate, which shows as chatter on the edge. The minimum workable width depends on the unsupported length, the sheet thickness, the support during machining and the loads in service, so confirm it for the specific design.
Holes and fixings. Acrylic is brittle, so avoid excessive or concentrated clamping loads. Fixing holes need clearance, never an interference fit, and they have to allow for movement and thermal expansion. Fasteners should spread the load rather than be overtightened.
Distance from the edge. Features close to a sheet edge risk cracking during machining and in service.
Engraving: depth, tool and intent
Engraving acrylic is a separate operation from cutting and needs separate instruction.
What kind of engraving. A V-cut with a conical tool produces an angled groove whose appearance depends on the material, the finish and the lighting. A flat-bottomed pocket with an end mill gives an even recessed surface suited to paint fill. Switching between them late means revised geometry, toolpaths and pricing.
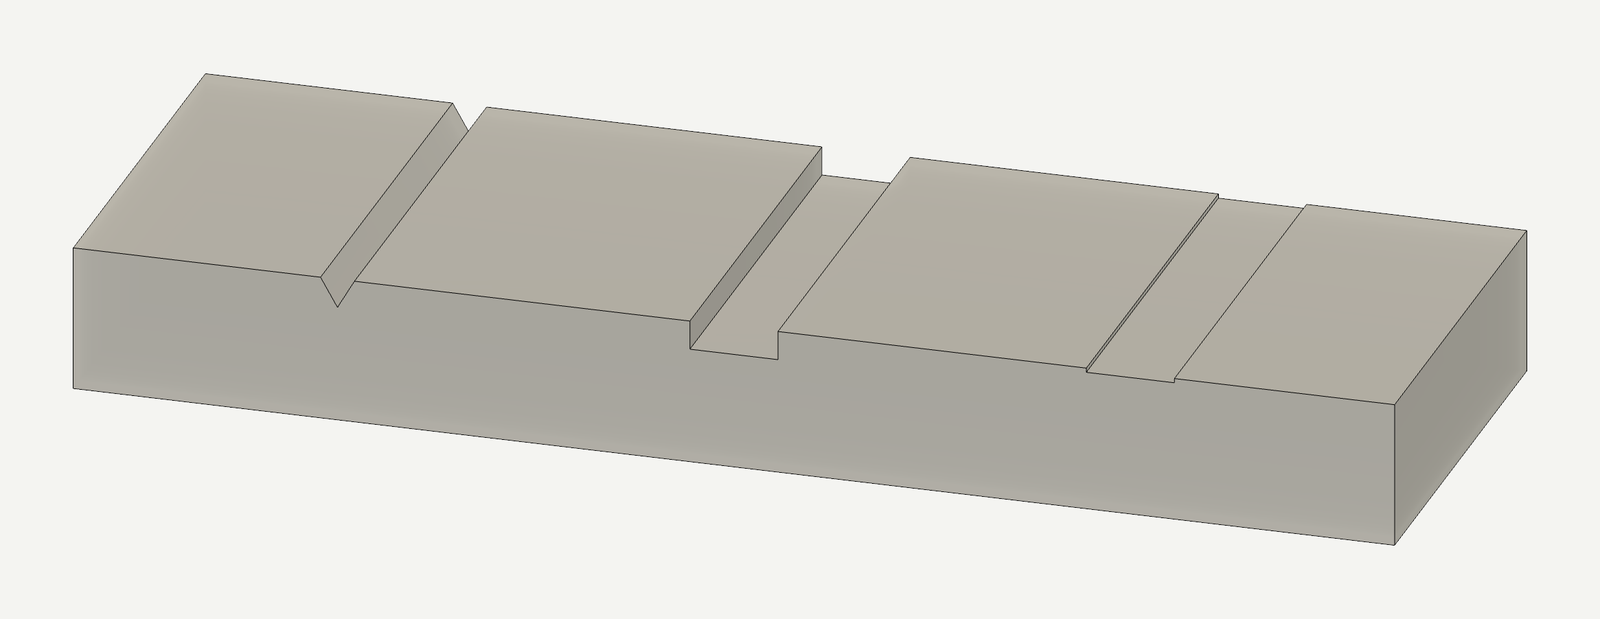
Depth. Specify the depth of each engraved element. A line on a drawing does not say whether it is a 0.3 mm score or a 2 mm pocket, for example, and these produce very different effects.
Front or reverse engraving. Reverse engraving on clear acrylic, viewed through the material, gives a protected graphic with visual depth. The artwork has to be mirrored, so confirm who is doing that.
Fills. Engraved recesses can be paint-filled for contrast, using a paint system compatible with the acrylic grade. That decision affects depth and geometry, so include it in the brief.
Edge finishing changes everything
The cut edge is a design decision with a cost attached.
As-machined is matt and slightly translucent, and may keep visible tool marks. On cast acrylic with correct feeds it is clean and suitable for many applications; agree the appearance you expect against a sample.
Sanded or scraped gives a controlled matt edge, useful when a uniform frosted appearance is wanted.
Polished can improve the clarity of an edge in clear acrylic so that it transmits light along its length. The method and time depend on the geometry and the appearance required, and polishing adds finishing time and cost.
Specify the edge condition per part, not per project, and only where the appearance or the function calls for it. Include any polishing or paint-fill requirement in the brief so we can confirm feasibility and scope.
Protective film
Acrylic arrives with protective film on both faces, and it should stay on through machining and handling wherever possible.
Removing it early to check a part increases the risk of scratches during handling. Where a part must be machined with the masking removed for a specific reason, that changes handling for the rest of the process and should be agreed in advance.
Prototypes, batches and repeats
Acrylic suits iteration. A prototype can check fit, appearance and lighting effect before committing to a production run. Our typical lead time from confirmation to dispatch is 2–5 weeks.
For repeat work, keep the approved file, the material specification and the finishing requirements together, and verify the critical dimensions against the agreed tolerances. Sheet supply and thickness tolerance are the variables most likely to shift between batches when a repeat has to match an original exactly.
One point worth stating: we cut acrylic on a CNC router, not a laser. A router gives a machined edge with excellent dimensional control. Laser cutting can produce a glossy edge and hold smaller internal radii, depending on material thickness and process settings. If that edge appearance is the requirement, tell us and we will say plainly that it is not what we do.
What to send for a quote
The quote depends on the material, the geometry, the engraving and the edge finish, and both machining time and finishing time vary with these specifications.
Next step: send the vector file and tell us how the edge should look. CNC milling and cutting · work we have done
22.09.2026